


Okay, so I thought we’d have the whole Desert Bathroom done by now, let alone the tile! Of course, this year, I’ve “thought” a lot of things. Initially, we were planning on finishing the bathroom in order to host my mom from Thanksgiving through the New Year, but with the recent surge of Covid cases, we agreed she shouldn’t be traveling this year. If I’m forcing myself to see the silver lining, the cancellation does take some of the stress off of our ‘missed deadline.’
I’m trying to see the forest for the trees, these days. After all, this project is our biggest DIY to date, and I’m really proud of how far we’ve come! We’ve learned so much along the way, and I want to honor our progress—even after this month threw us a fresh quarantine curve-ball. Y’all know I’m still bound and determined to have a relaxing December! (Tiling can be relaxing, right?)
Toiling through the tile
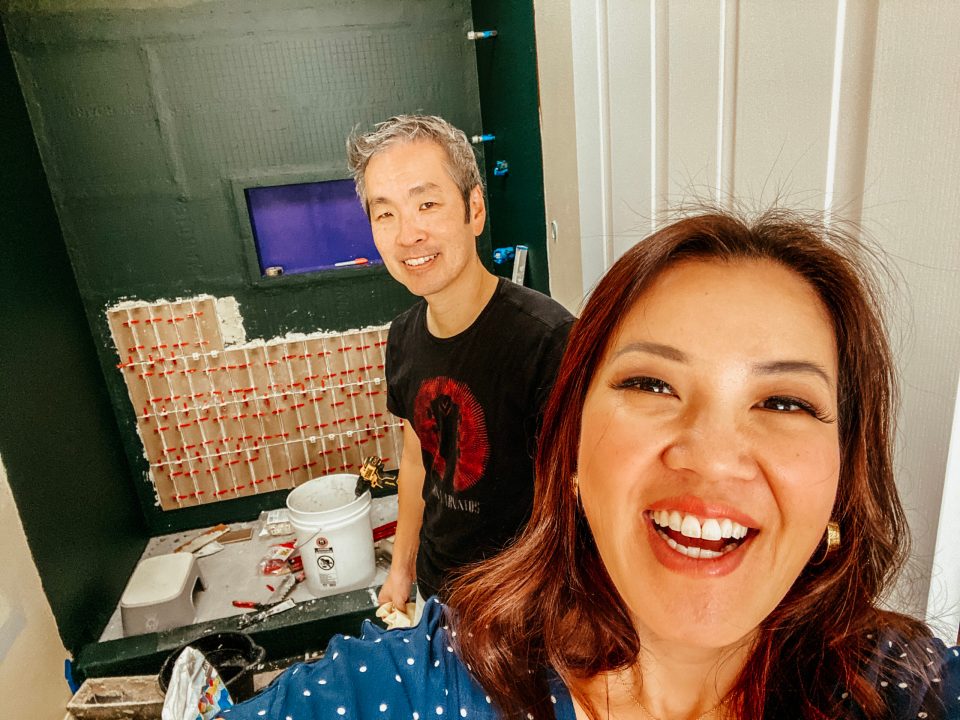
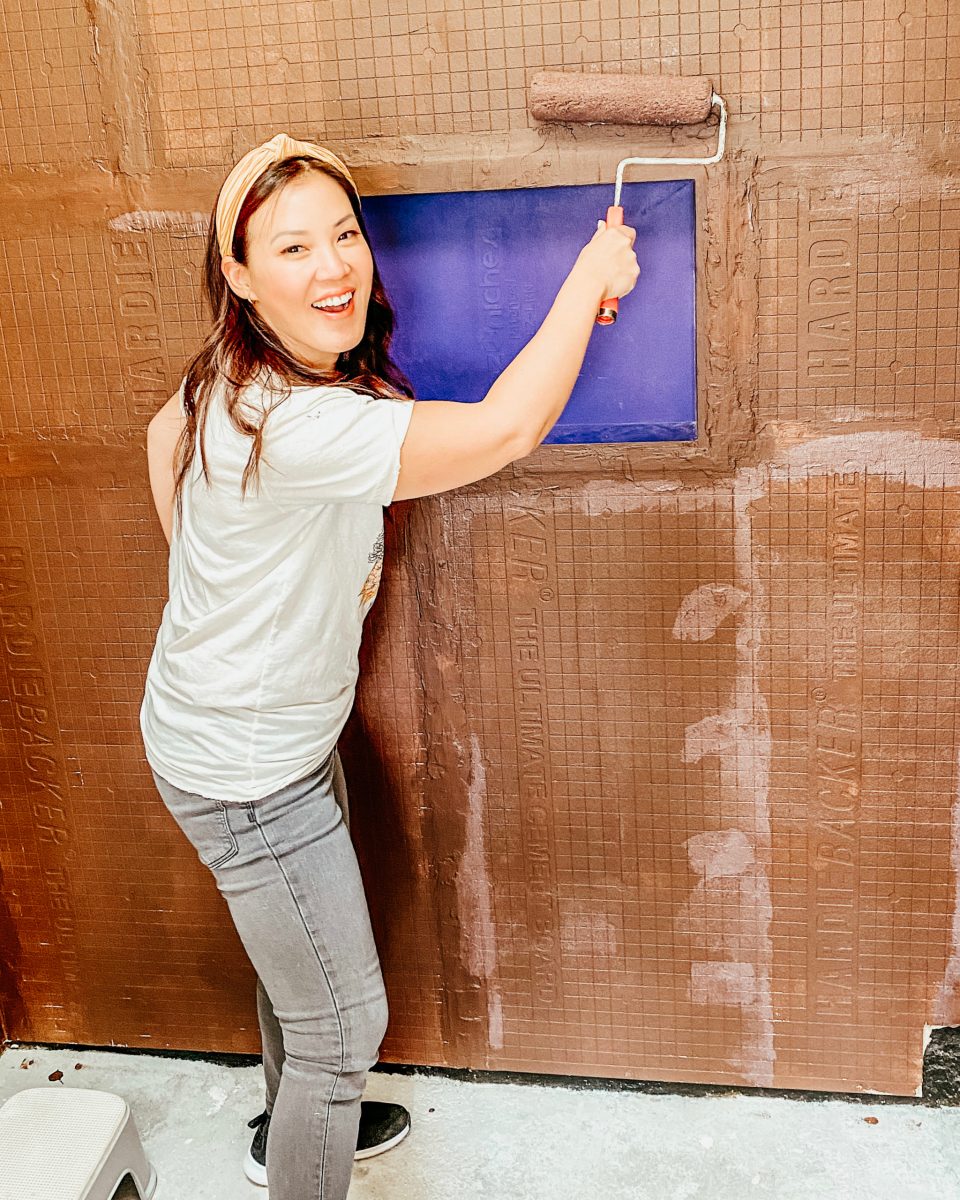
At this point, we’re deep in the process. We’ve sealed the shower pan and have been spending our days tiling. Travis and I take turns at tiling the rows, although he has definitely done the lion’s share. While this is a 2-day project for most experienced craftspeople, we are… a little less than experienced, let’s say? What would take my tile guy a weekend has taken us a MONTH to finish!
To be honest, it’s a simple enough job if you block out the time for it. On our end, we’ve been able to do 2-3 hours at a time before we get tired—or interrupted. I’d bet if we didn’t have kids, it would have taken us 3 or 4 days to complete. Although… if we didn’t have kids, we probably would never have DIY’d at all and would both still be therapists. Either way, I feel okay about our pace if it means some good family time!
The thing about tiling is that setting up takes forever. First, you have to make the thinset, make sure all of your tools are clean, and get everything set up. And once you finally start, it still takes a minute to get into the groove! While Travis and I would usually work together, the space is pretty small, so it feels better to work one at a time. This slows us down BIG TIME, but it’s been really nice to be able to tap out when it gets too tedious.
Two steps forward, one chip back
The little delays are the most frustrating. After all our hard work, I started taking out the plastic spacers that ensure all the tiles are placed perfectly apart. Once the thinset dries, these can be removed before we cement everything in with the grout. With a little umph, the spacers snap right off …but I might have used a little more force than was needed. 😬 One of our Fireclay tiles chipped!
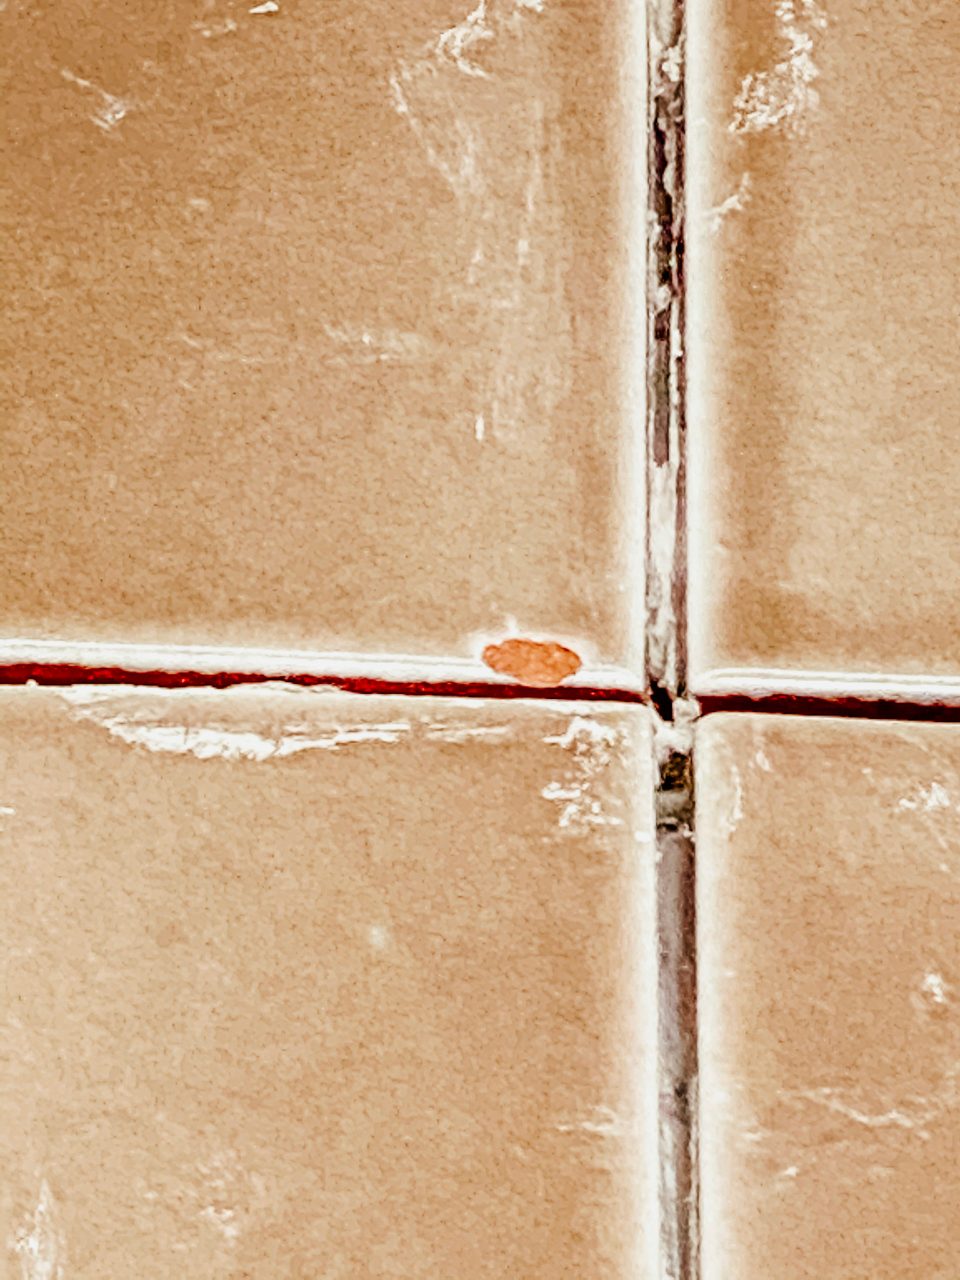
All I can say is: UGH. I’m usually the person who doesn’t care, but this CANNOT happen. Maybe it seems small, but I know that every time I look at the shower, all I’ll see is that stupid chip. So, we called in the big guns for some advice!
Our friend Carter Oosterhouse was in the neighborhood, (we are soooo ready for The Great Christmas Light Fight 2020!) so he stopped by to give his professional opinion. We showed him our progress in the Desert Bathroom, and I asked him how to take out a tile with a chip in it. His response? “You just knock it out.” Say what?!
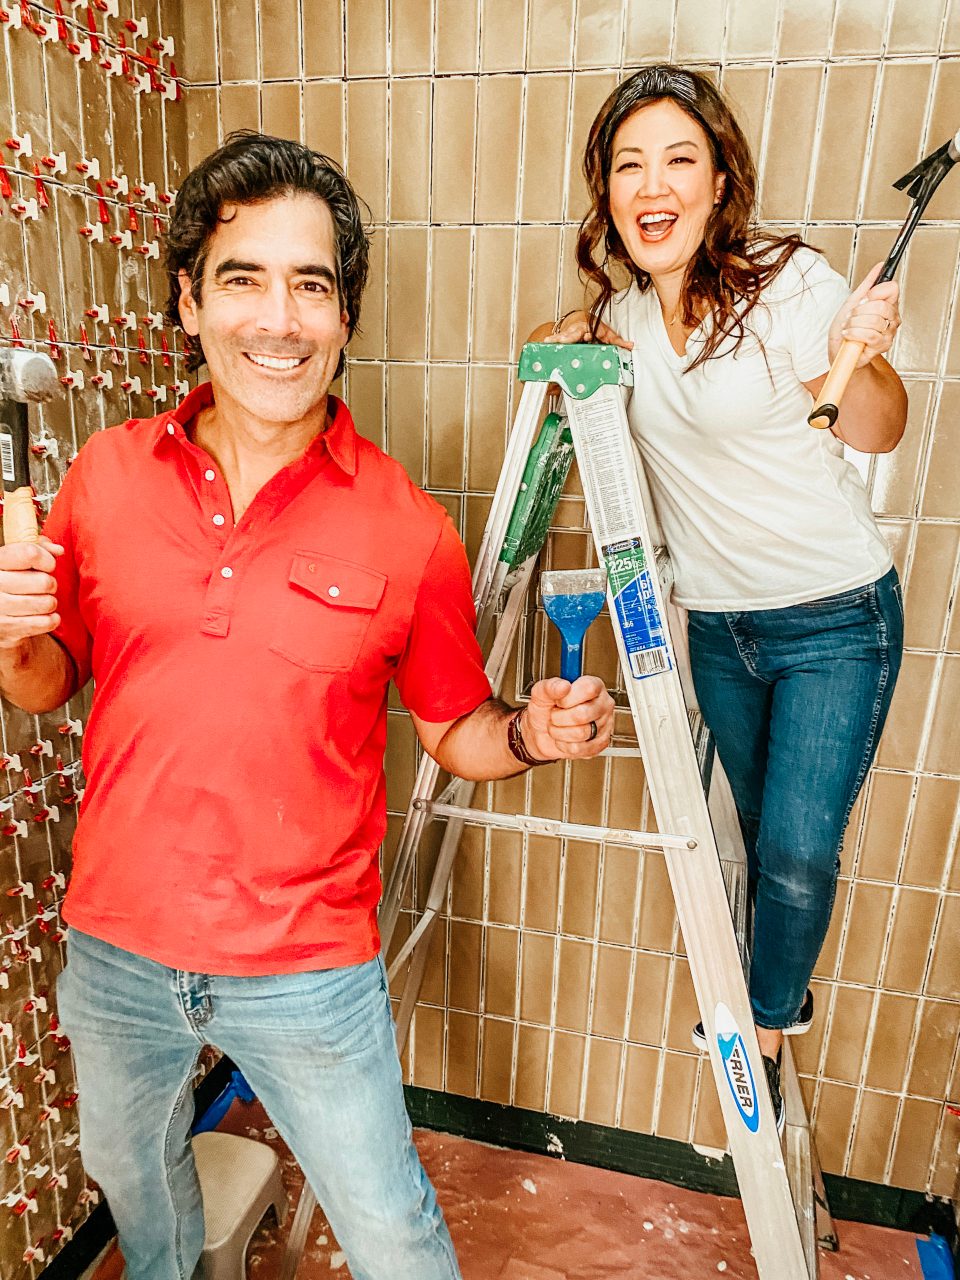
We’re lucky this hadn’t happened after we grouted, or we would have needed a special rotary tool to get the tile out. But even without grout, thinset is a sturdy adhesive. This tile isn’t about to just pop off. So, we took a hammer and chisel to the problem spot.
It. was. SO. scary.
The whole time I was obsessed with what could go wrong. What if while I’m hammering, I damage the tiles around it? What if the chip turns into a much bigger problem? Is all of this worth the anxiety?? Go figure, it was only when I let go and finally took the hammer straight to the tile that we were able to remove it.
Mastering monochrome
This project has definitely been different than our last tiling project. Almost two years ago, we DIY’d our fireplace with (you guessed it!) Fireclay tile. While we had the luxury of a whole family room to spread out in, the fireplace had its own dramas. I chose a beautiful Moroccan patterned tile, which needed to line up from food to ceiling in one clean, straight row. We had to factor in how many rows of the pattern we wanted, and where it would cut on both sides… Talk about precision work!
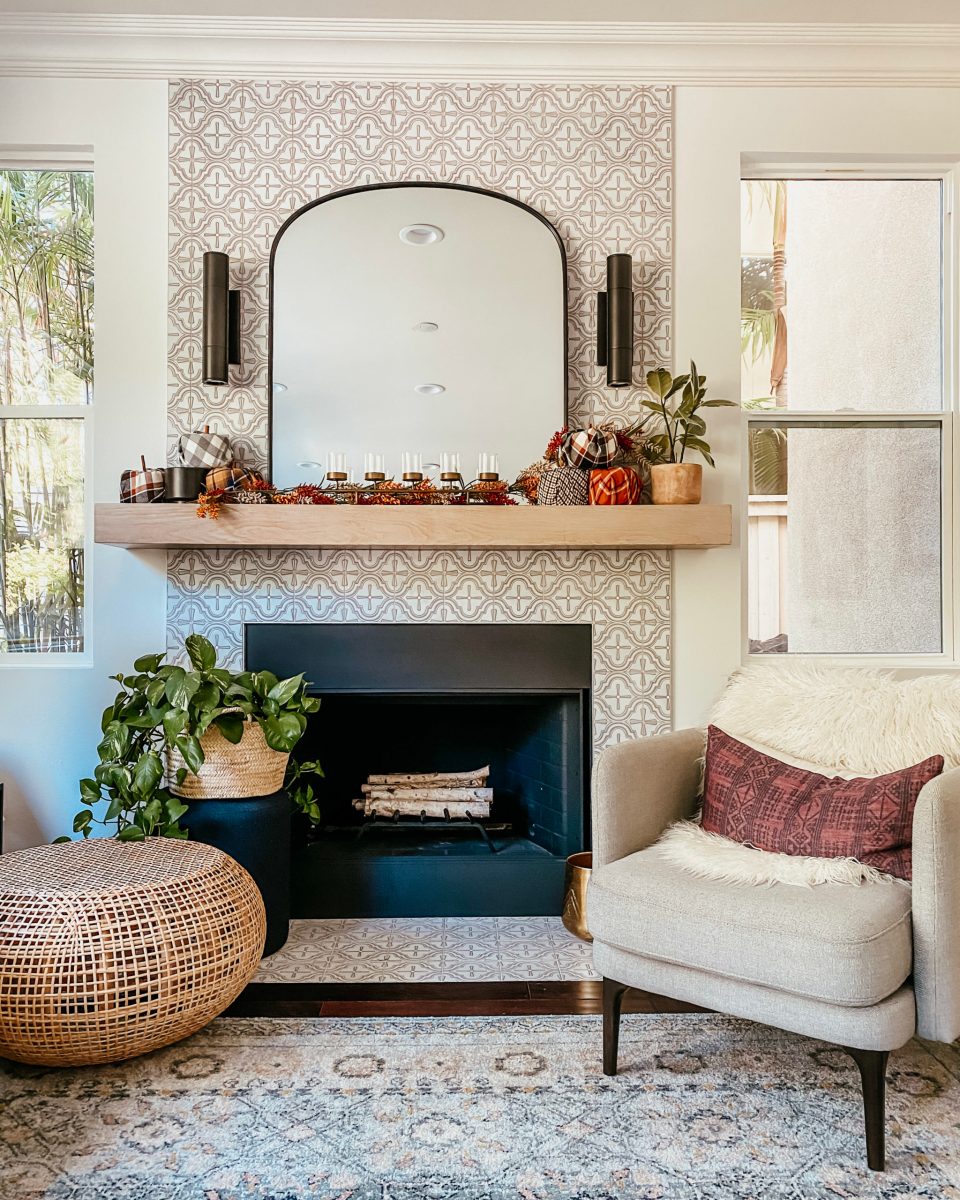
So for the bathroom, I decided to keep it simple. This is a big job, and with the fireplace in the back of my mind, I was determined not to make even more work for us. We’re already re-building shower walls, so why complicate things?
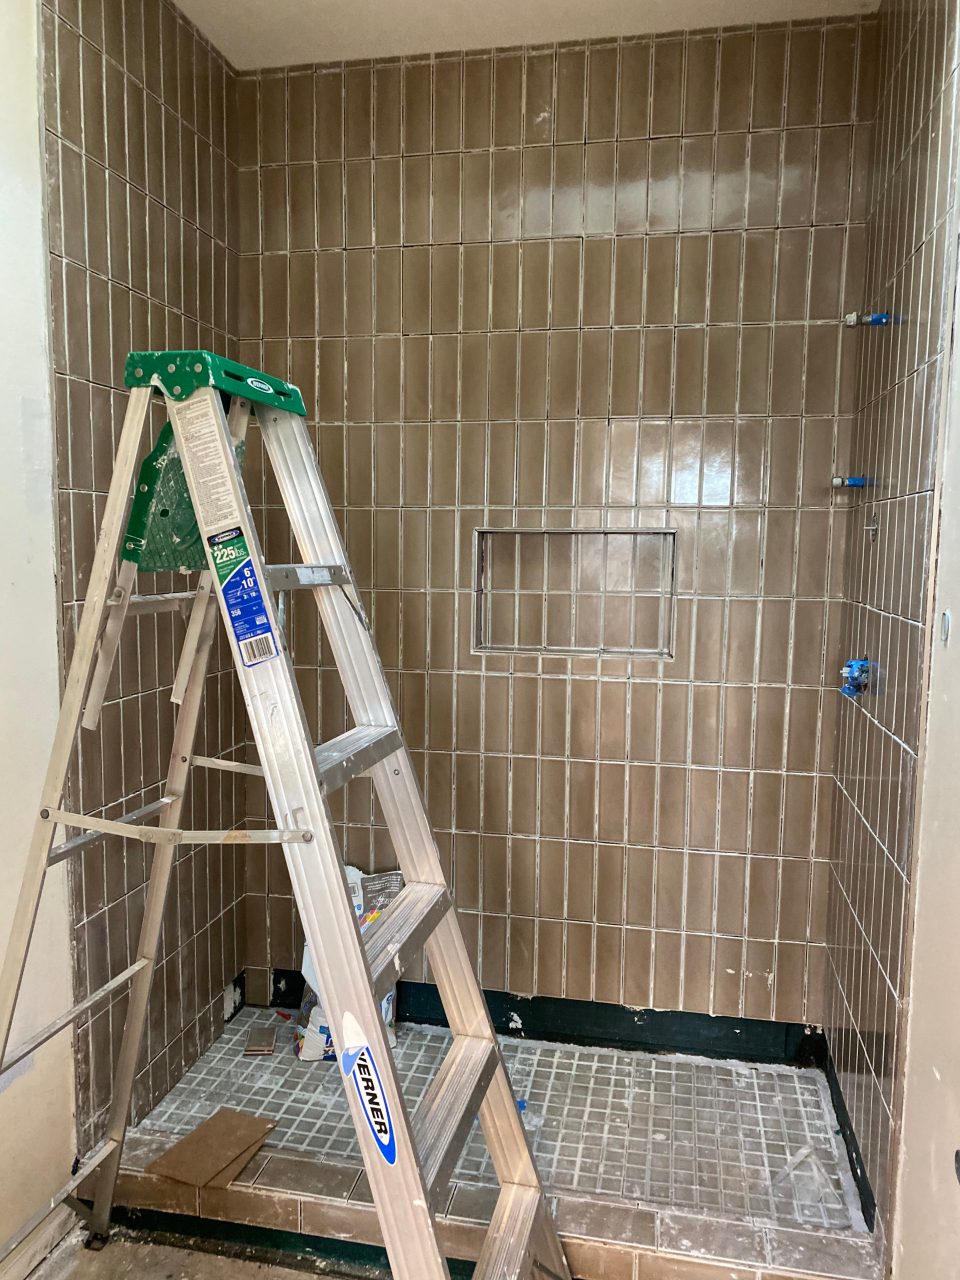
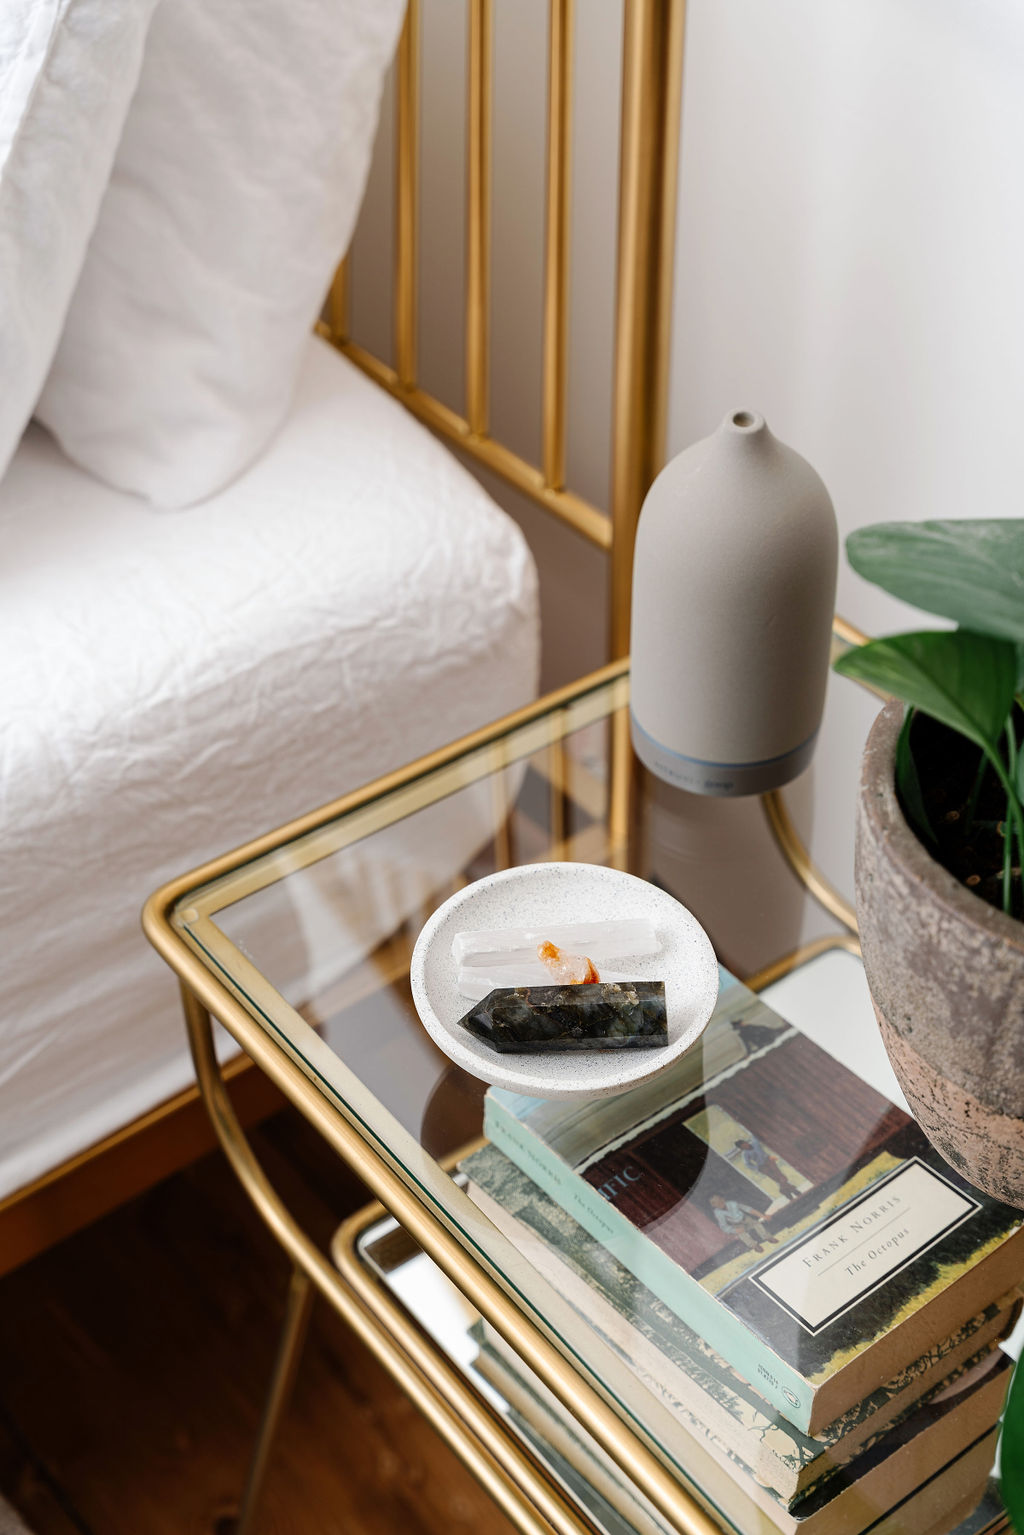
Plus, in a space inspired by the desert, it was important to me that our bathroom remain serene. I want the whole room to feel calm and uncluttered, so all the Fireclay tile we use throughout the space is going to be the same color: a beautiful blushy-brown called “Cardamom.” The monochromatic look will definitely set a relaxing tone in a warm, down-to-earth neutral.
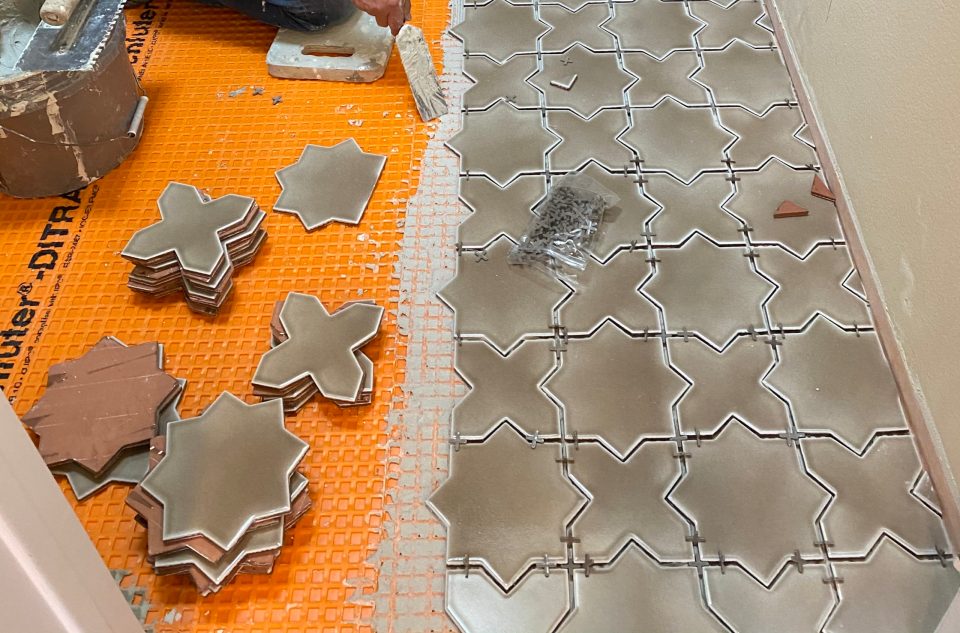
To create visual interest, the tile sizes are different in each application. The shower walls feature 3×9 vertical tiles, while the shower floor will use a 2×2 square. Don’t worry, these little guys come on a mesh backing so the tiles we’ll be laying are actually 12×12! But the bathroom floor is what I’m most excited for, with a star and cross shape that will really pop.
Halfway There?
Our immediate next steps are to replace the tile and start grouting. After that, we’ll be done with the bathroom walls, and it will be onto tiling the shower floor—then tiling the shower curb, and then bathroom floor. Did you hear me exhale through your screen? 😂 It’s definitely a long haul, but I know the shower walls are the biggest push.
The scale of this project is HUGE, and I’d say we planned it out pretty well, even if we got the timing wrong. There’s always a difference between timelines when it comes to your day job vs. the projects you take on in your “spare” time. It gets hard to do when there’s not a lot of time to spare!
Even though we’re not nearly done yet, this DIY has been so empowering. We’re really acting like we know what we’re doing, and I’m so proud of us. It feels good to know that Travis & I created a whole shower ourselves! And as we move forward, the only thing I want to change is how much fun we’re having. I want to dance more through the process—even if I’m not that great a dancer.
Xo,
Anita


+ show Comments
- Hide Comments
add a comment